Add videos, files and formatted text to training/homework descriptions
We improved Sportlyzer’s training descriptions so you could add more information to your athletes:
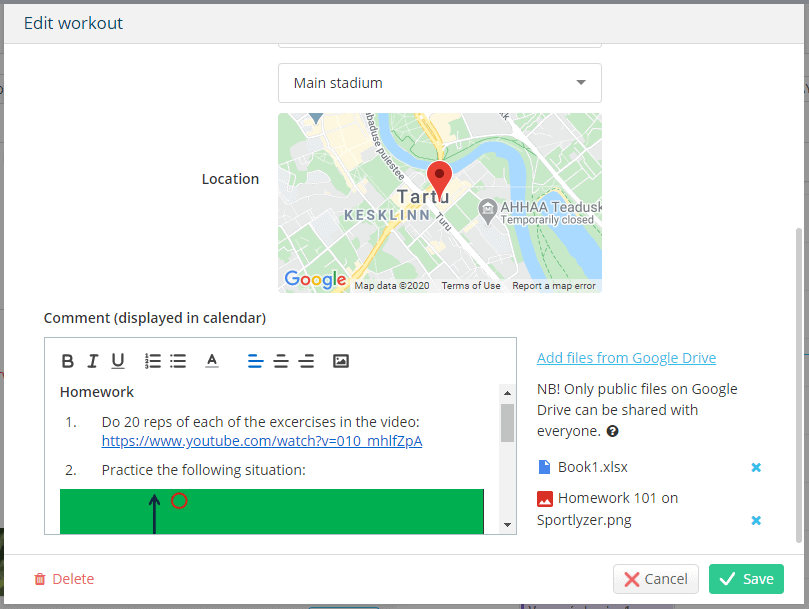
- Text formatting
- File upload from Google Drive
- Image upload from your computer
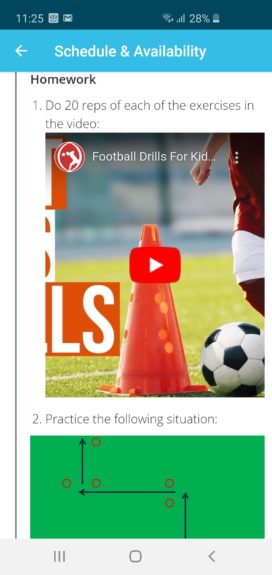
- Youtube links will show as videos on Player and Parent apps

1. Format text to create beautiful and easily understandable instructions
The list of options currently includes: bold, italics, underline, coloured text, bulleted lists, numbered lists, and text indentation (left, centre, right).

2. Upload pictures from your computer
You can attach images right into the description of the session. This can currently be done from the web app but we will soon add this to the Coach Diary mobile apps as well.
3. Copy Youtube links into the description
Youtube links with e.g. example exercises or technique instructions will display as videos right in the mobile apps of the athletes and parents, so they can easily play them.

4. Add any file from your Google Drive to the descriptions
When adding a new or editing an existing calendar event, you can add any of the files in your Google Drive account to that event (works on the Sportlyzer web app). The files will be added as links, so when you update a file, everyone can instantly access the updated file.
To organize all of your club’s documentation and to allow all coaches to access and share those files to Sportlyzer, this is what we recommend for the club manager to do:
- Make a folder named “Sportlyzer” in your Google Drive account.
- Set its sharing settings to “Anyone with the link can view” (needed for the athletes to access the files once you or the coaches send them).
- Organize all of your club’s documents in that folder (and its subfolders).
- Give all coaches access to their specific sub-folders, so they could access the related files via their own Google Drive login.
- Each coach can then access and share files that they have access to.
- Athletes and parents will only be able to access the files that have been added to their training descriptions.
Here’s what coaches (or anyone else who has user access to one of the club folders) should do:
- When the manager shares your folders to you, add them to your Drive. Right-click on the folder and choose “Add shortcut to Drive”.
- Start sharing files to your athletes :)
NB! As a summary, two of the requirements:
- The file itself or the folder it is positioned in has to be public. So you’ll have to set the sharing settings of that file or folder to “Anyone with the link can view“. Editing these settings is a one-time action and after that, you can freely share any file inside that folder. See this article if you need help with sharing.
- The folders and files have to be in your “My Drive” folder. To add any file or folder that is shared with you to your own Drive, right-click on it and choose “Add shortcut to Drive“. Files that are just in the “Shared with me” folder, can’t be added to Sportlyzer.
Log in or register to try it yourself.
Take a look at another blog post to see why and how to organize and track homework for your athletes.
